
Resin Problems & Fix Guide – Sticky, Bubbles, Not Curing & More
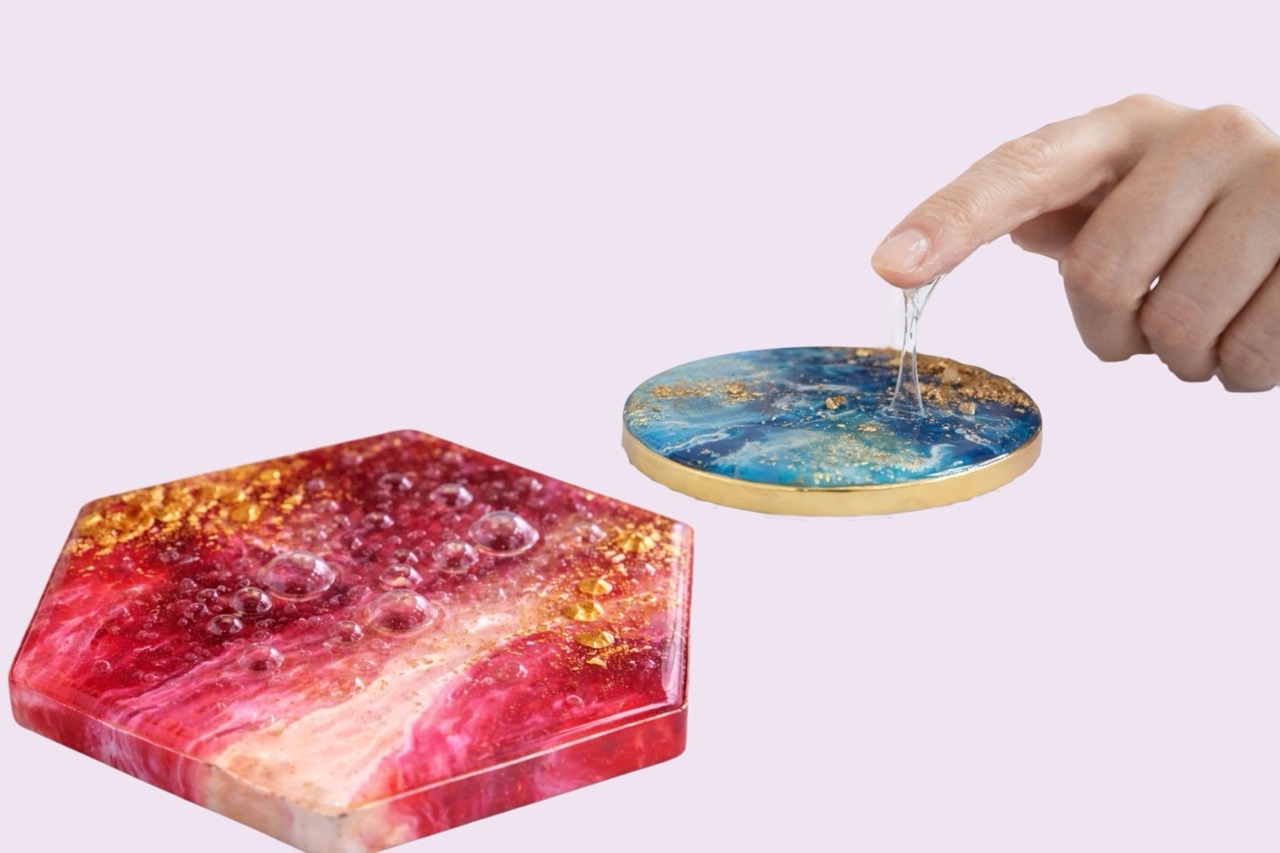
Facing issues with your resin project? Sticky surface, bubbles, or uneven finish — these are very common problems in resin art for beginners. The good news is every resin problem has a simple solution.
This complete guide will help you fix sticky or uncured resin, remove and prevent bubbles, solve uneven surface issues, and avoid mistakes in future projects.
Why Is My Resin Sticky?
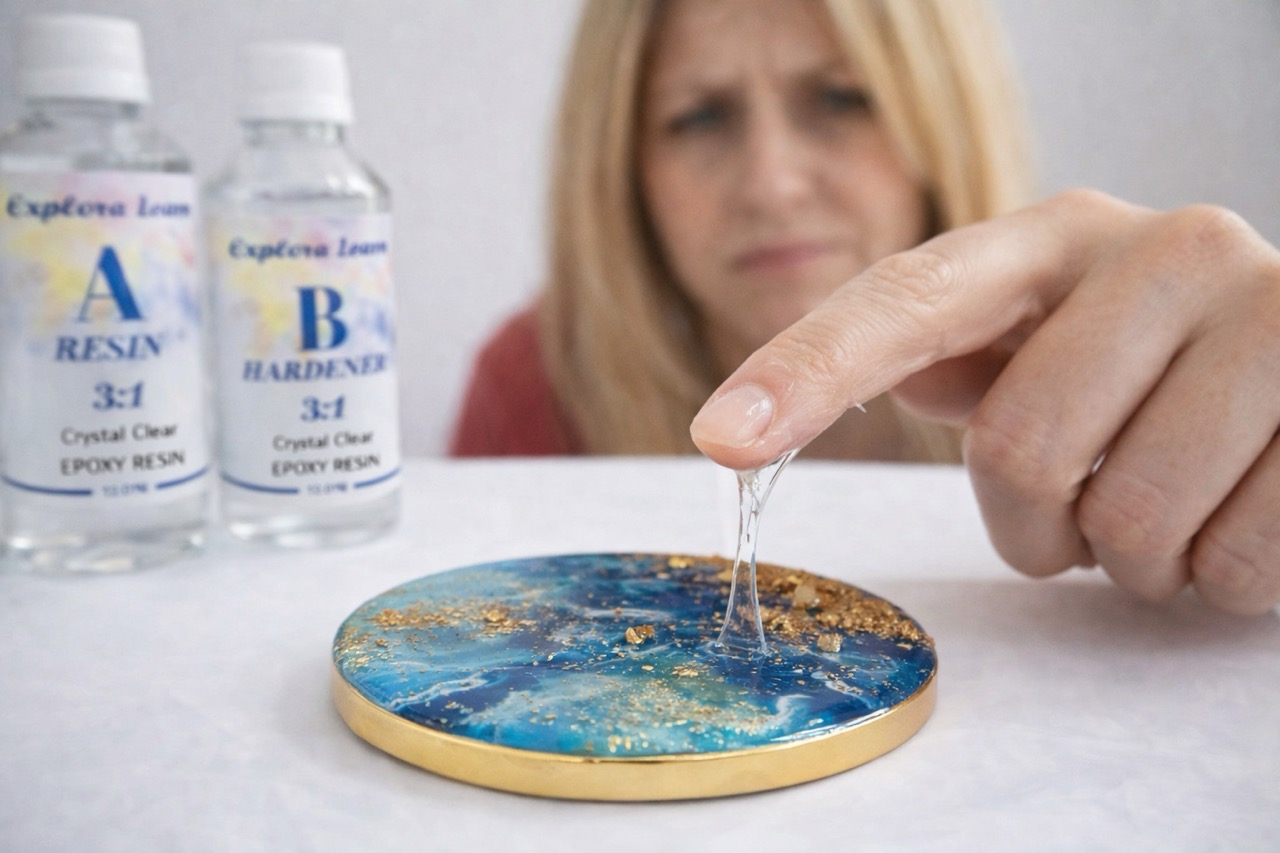
Sticky resin means your resin has not cured properly.
Common reasons:
- Incorrect mixing ratio
- Improper mixing
- Cold temperature
- Not enough curing time
How to fix sticky resin:
- Apply a fresh, properly mixed layer on top
- Keep the piece in a warm area
- Wait additional 24–48 hours
If resin is very soft even after extra time, you may need to remove the layer and start again with the correct mixing ratio.
For a deeper dive into this issue, read our dedicated guide: Why Is My Resin Sticky? Complete Fix Guide →
Why Is My Resin Not Curing?
If your resin is still liquid or very soft, it means the curing process has failed.
Main causes:
- Wrong resin-to-hardener ratio
- Poor mixing
- Low temperature
- High humidity
Measure resin accurately, mix slowly for 3–5 minutes, and work in a warm, dry environment. Learn the correct ratios and timing in our Resin Process Guide: Curing Time & Mixing Explained →
Why Are There Bubbles in Resin?
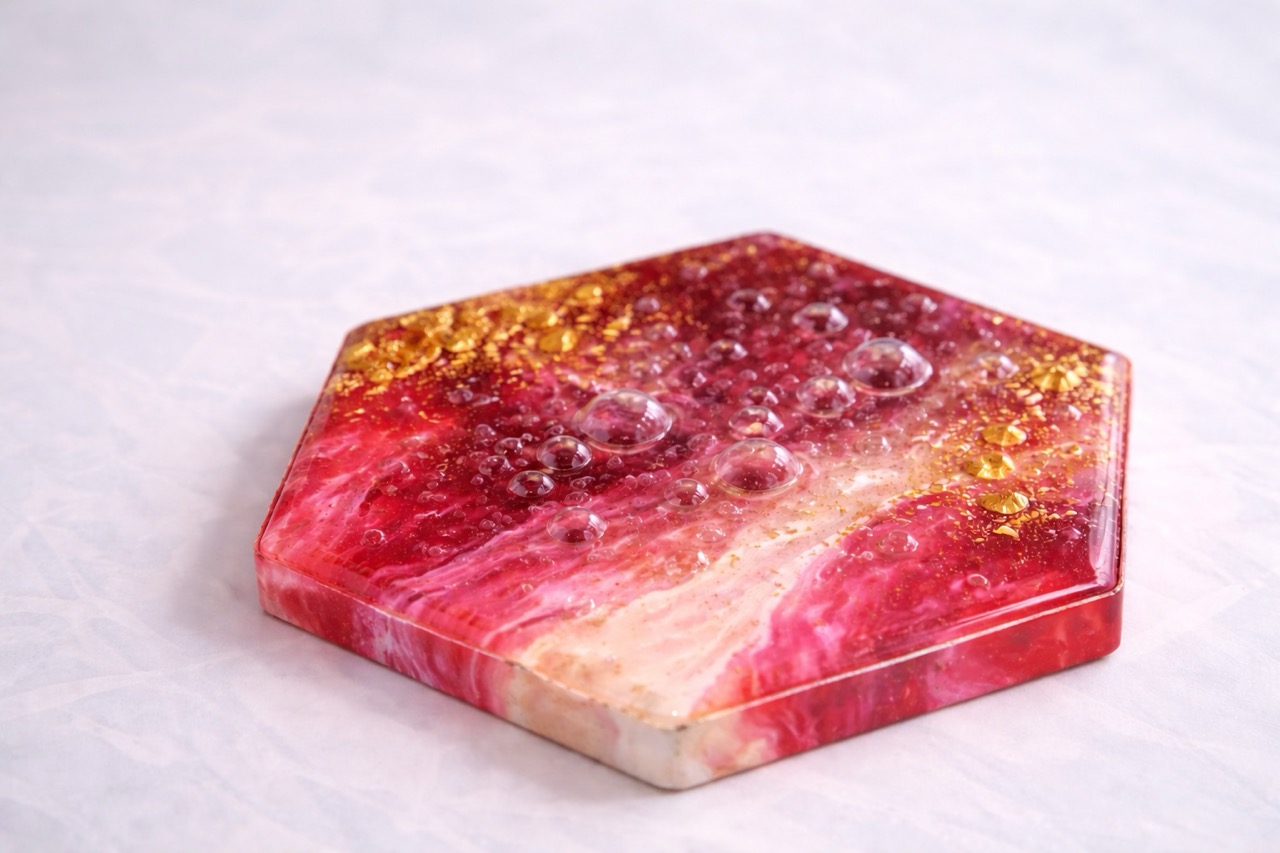
Bubbles are one of the most common issues in resin art and affect the clarity and finish of your piece.
Causes:
- Fast mixing
- Cold environment
- Thick pouring
- Air trapped in materials
How to Remove Bubbles from Resin
1. Use a Torch or Heat Gun
Pass gently over the surface to help bubbles rise and pop. Keep the torch moving — do not hold it in one place.
2. Use a Toothpick
Pop small bubbles manually. Best for jewellery moulds and detailed areas.
3. Let Them Settle
Wait a few minutes after pouring. Many bubbles will rise and disappear naturally before you need to take any action.
These three steps together will help you achieve a clear, glossy resin finish every time. For the full step-by-step guide, read: How to Remove Bubbles from Resin →
How to Fix an Uneven Resin Surface
An uneven surface can ruin the final look of your resin art. Here are the most common reasons and fixes.
Common reasons:
- Surface not level during curing
- Uneven pouring
- Dust or particles settling in resin
- Improper curing
Option 1: Add a Top Coat
Pour a thin fresh resin layer over the uneven surface and let it self-level. Resin is naturally self-leveling so this often fixes the problem completely.
Option 2: Sand and Recoat
Lightly sand the uneven area, wipe clean, and apply a new thin resin layer. Let it cure fully before touching.
Common Beginner Mistakes to Avoid
Guessing the resin ratio, mixing too fast, working in a cold environment, pouring thick layers, and rushing the curing process are the five mistakes that cause almost every resin problem beginners face.
Pro Tips for Perfect Resin Results
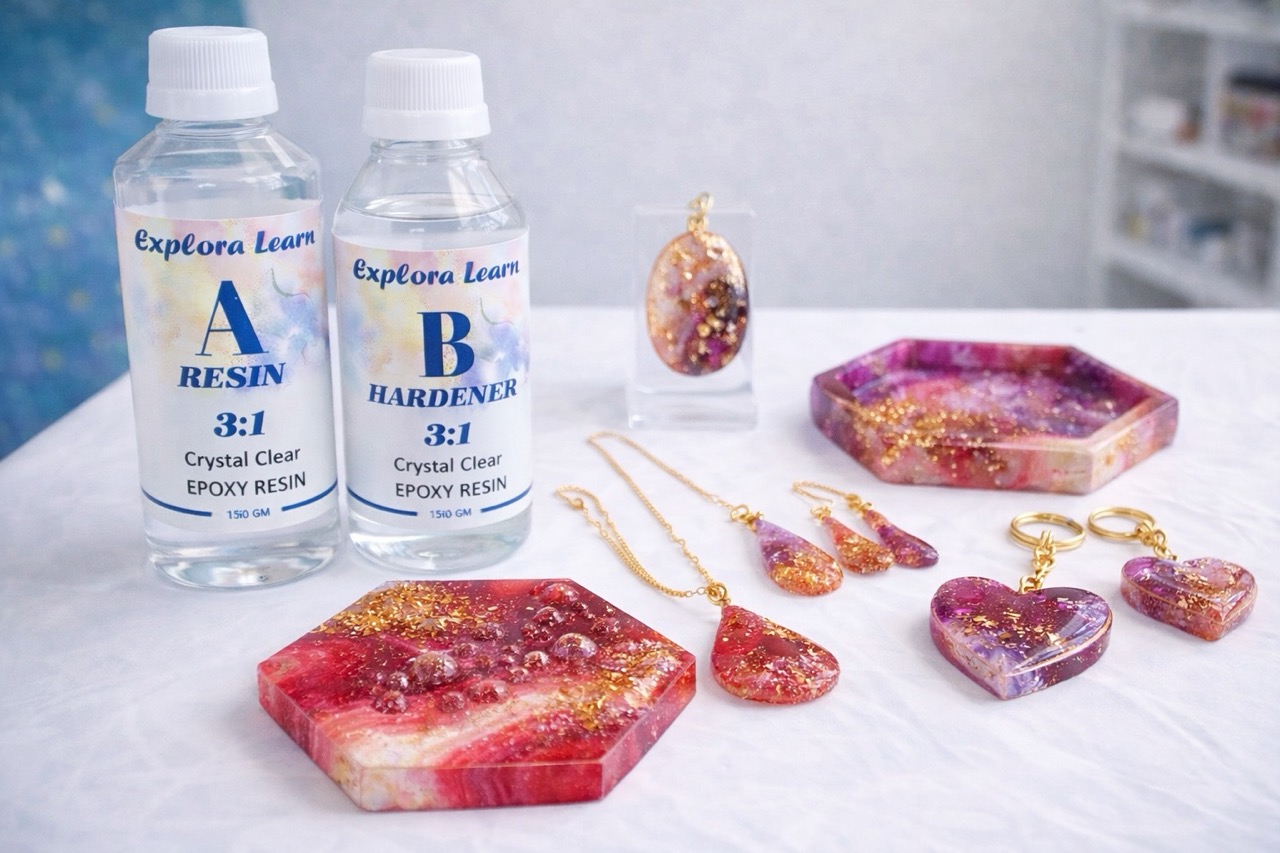
- Always measure resin and hardener accurately
- Mix slowly and properly for 3–5 minutes
- Work in warm temperature (24–30°C)
- Pour in thin layers
- Keep workspace dust-free
Special Note for UV Resin Users
UV resin problems are slightly different from epoxy resin issues. For a complete troubleshooting guide specific to UV resin, read our UV Resin Problems & Fix Guide →
Common UV resin issues:
- Sticky surface after curing
- Incomplete curing
- Bubbles in moulds
Cure longer under the UV lamp, use thin layers, and avoid overfilling moulds. Browse our UV Resin Jewellery Kits for quality UV resin with full instructions included.
- Sticky resin is almost always caused by incorrect mixing ratio or cold temperature
- A fresh thin resin layer on top can fix a slightly sticky surface
- Use a torch, toothpick, or natural settling to remove bubbles
- A top coat or light sanding fixes most uneven surface problems
- Accurate measuring and slow mixing prevent most resin problems from the start
Using quality epoxy resin with the correct ratio makes a significant difference. Explore our resin art kits for beginners in India — all include clear mixing instructions and everything you need in one box.
Frequently Asked Questions
Why is my resin still sticky after 24 hours?
It may need more time, or the mixing ratio was incorrect. Move it to a warmer area and wait another 24 hours before taking action.
Can I fix sticky resin without removing it?
Yes — pour a fresh, properly mixed thin layer on top. This works well when the surface is only slightly tacky.
Why do bubbles keep forming in my resin?
Bubbles usually come from air trapped during mixing or from cold working temperature. Mix more slowly and warm up your workspace.
How do I get a smooth resin finish?
Work in warm conditions (24–30°C), remove bubbles properly with a torch or toothpick, and apply a thin final top coat for a perfectly level surface.
Can I fix an uneven resin surface after it has cured?
Yes. Lightly sand the uneven area, wipe clean, and pour a fresh thin layer. The self-leveling nature of resin will do most of the work.