
UV Resin Problems & Fix Guide – Sticky, Not Hardening, Cloudy Resin
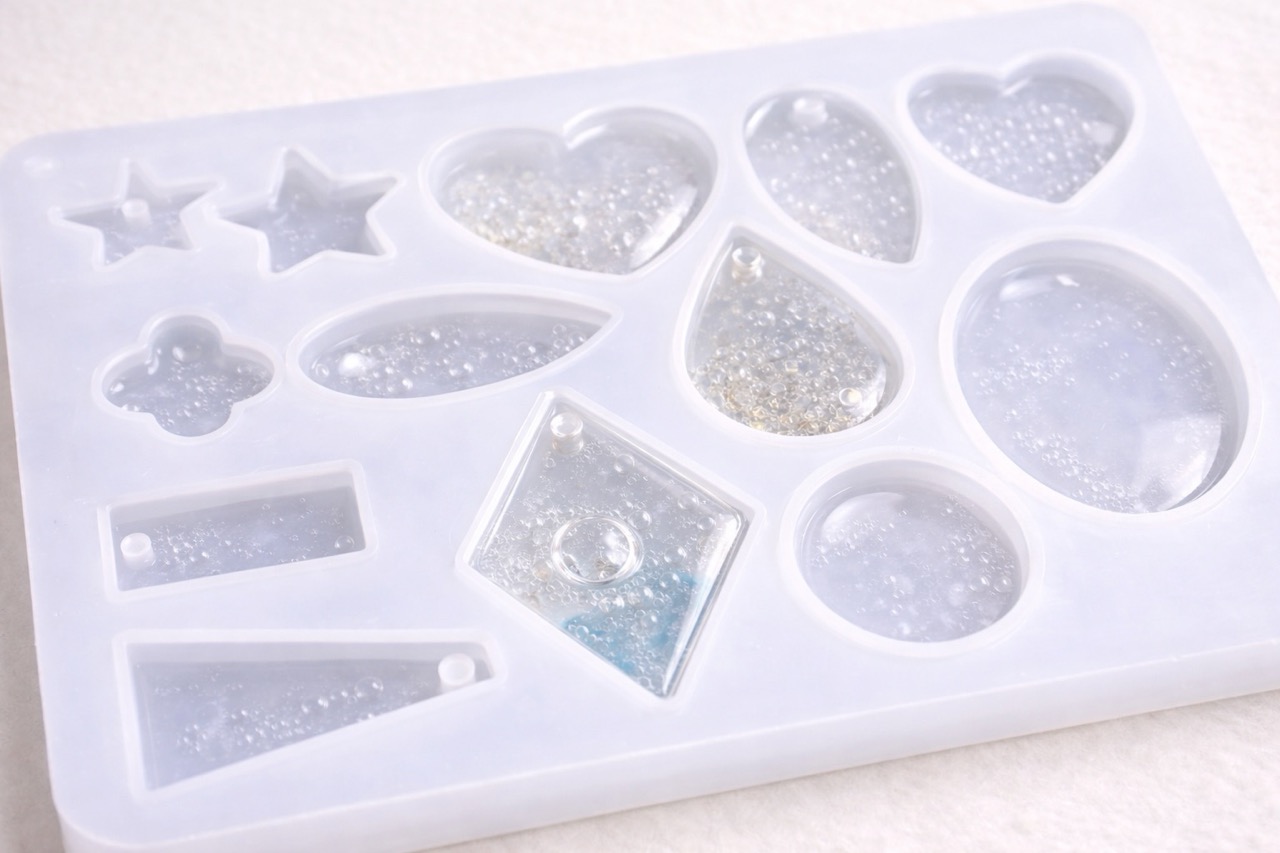
Is your UV resin sticky, soft, or cloudy after curing? Don't worry — these are very common problems, especially for beginners. Most UV resin issues are easy to fix once you know the reason.
This guide will help you fix sticky UV resin, understand why it is not hardening, solve cloudy resin problems, and get a clear, glossy finish every time. New to UV resin? First read our Beginner's Guide to UV Resin →
Why Is UV Resin Sticky After Curing?
If your UV resin feels sticky or tacky after curing, it means it is not fully cured. This is the most common UV resin problem beginners face.
Common reasons:
- Not enough UV exposure time
- Resin layer is too thick
- Weak or low-quality UV lamp
- Uneven curing from one side only
How to fix sticky UV resin:
- Place it again under the UV lamp for 2–5 more minutes
- Flip the piece and cure from the back side as well
- Next time, cure in thin layers instead of one thick layer
In most cases, extra curing solves the sticky resin problem instantly. Always cure both sides for best results.
Why Is UV Resin Not Hardening?
If your resin stays soft or liquid even after UV exposure, curing has not happened properly.
Main causes:
- Very thick layer that UV light cannot penetrate fully
- Low-quality or weak UV lamp
- Expired or old resin
- Mould placed too far from the UV light source
Use a strong UV lamp, cure in thin layers, keep the mould close to the UV light, and check that your resin is not past its expiry date. Our 195 Pcs UV Resin Art Kit includes a 6W USB UV lamp rated for consistent curing results.
How to Fix Uncured UV Resin
Option 1: Cure Again
Place the piece under the UV lamp again and increase curing time. Flip it and cure all sides. This works for most cases where the resin is slightly soft.
Option 2: Remove and Rework
If the resin is still completely soft even after multiple curing attempts, remove the uncured resin, clean the mould, and start fresh with a thin layer. This is only needed when curing has completely failed.
Why Is UV Resin Cloudy?
Cloudy or dull resin means the finish is not clear. This affects the appearance of your jewellery and crafts significantly.
Common causes of cloudy UV resin:
- Trapped air bubbles
- Too much glitter or pigment added
- Moisture or dust on the surface
- Low-quality resin
How to fix cloudy UV resin:
- Use less pigment or glitter in your next pour
- Work in a clean, dry environment
- Remove bubbles with a toothpick before curing
- Use good quality UV resin for a clearer finish
Why Are There Bubbles in UV Resin?
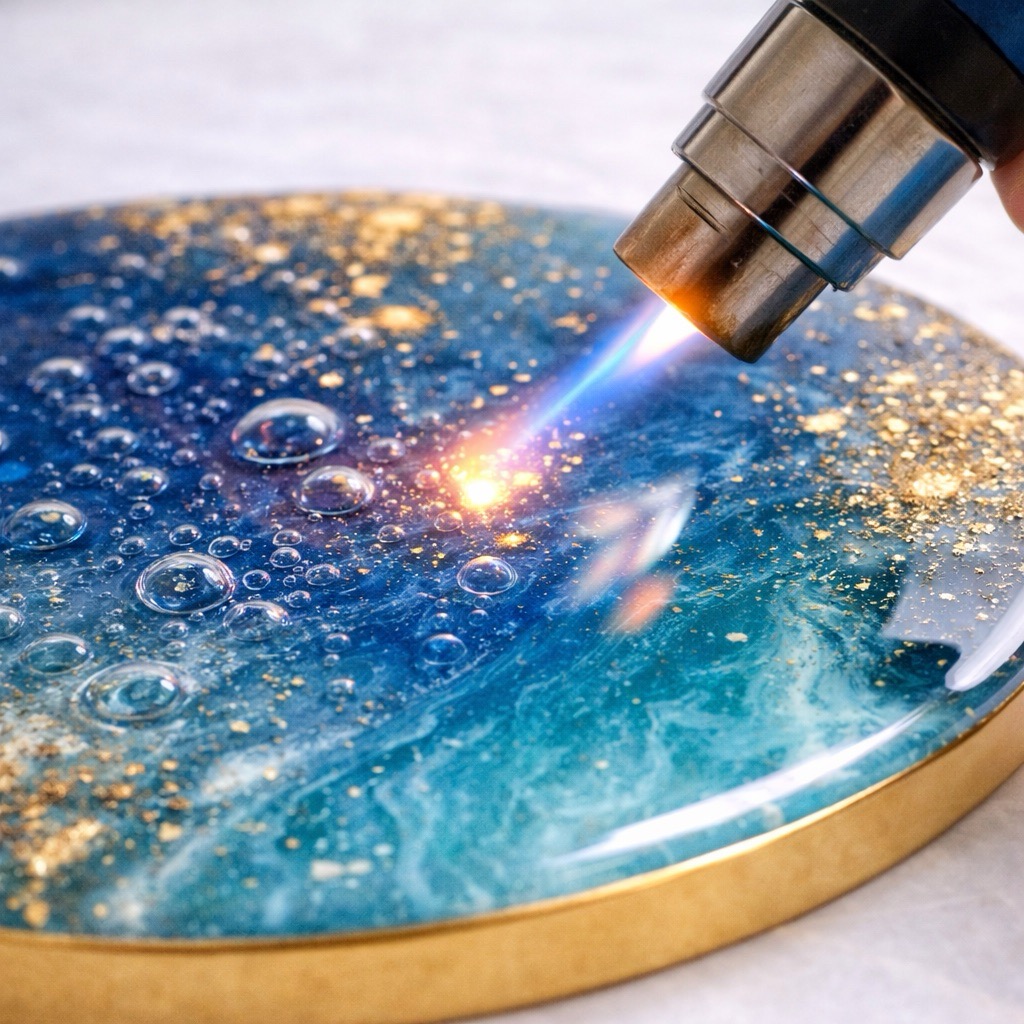
Bubbles can appear in UV resin due to fast pouring, thick layers, or air trapped inside the mould.
How to fix bubbles in UV resin:
- Use a toothpick to gently pop bubbles before curing
- Pour slowly to avoid introducing air
- Cure in thin layers rather than one thick fill
- Avoid overfilling moulds
UV resin cures very quickly, so you have very little time to remove bubbles after pouring. Always remove bubbles immediately before placing under the lamp. Read more: How to Remove Bubbles from Resin →
Common UV Resin Mistakes to Avoid
Overfilling moulds, adding too much glitter or pigment, not curing long enough, and pouring in thick layers are the four most common mistakes that cause UV resin problems.
Pro Tips for Perfect UV Resin Results
- Always work in thin layers for proper curing throughout
- Use a good quality UV lamp for consistent results — our 195 Pcs UV Kit includes a 6W USB UV lamp
- Keep your mould clean and completely dust-free
- Cure multiple times if the surface still feels slightly tacky
- Start with small, simple designs — try our 10gm UV Resin Jewellery Kit with bezels and curing light included
- Sticky UV resin almost always means it needs more UV exposure time
- Always cure in thin layers — thick pours will not cure properly
- Flip your piece and cure from the back for a complete, even finish
- Remove bubbles with a toothpick immediately after pouring, before curing
- A good quality UV lamp makes a significant difference in results
Most UV resin problems come from low-quality resin or a weak lamp. Explore our UV resin kits for beginners in India — all include hard-type UV resin, a UV lamp, and clear instructions.
Frequently Asked Questions
Why is my UV resin sticky even after curing?
It likely needs more UV exposure or was poured too thick. Place it back under the UV lamp for another 2–5 minutes and cure from both sides.
Can I fix sticky UV resin?
Yes — cure again under the UV lamp. In most cases this solves the problem immediately.
Why is my UV resin not curing at all?
Possible reasons include a weak UV light, a very thick layer that UV light cannot penetrate, or old and expired resin. A dedicated UV lamp like the one included in our 195 Pcs UV Resin Kit ensures consistent curing every time.
How do I make UV resin clear and glossy?
Use thin layers, avoid excess glitter or pigment, remove bubbles before curing, and work in a clean and dry environment.
Can I use sunlight instead of a UV lamp?
Yes, UV resin can cure under sunlight, but it is slower and less consistent than a dedicated UV lamp. A UV lamp gives better and faster results every time. See our full Resin Art Guide for more tips on UV curing.