
How to Make Resin Jewellery at Home in India – Step-by-Step Beginner Guide
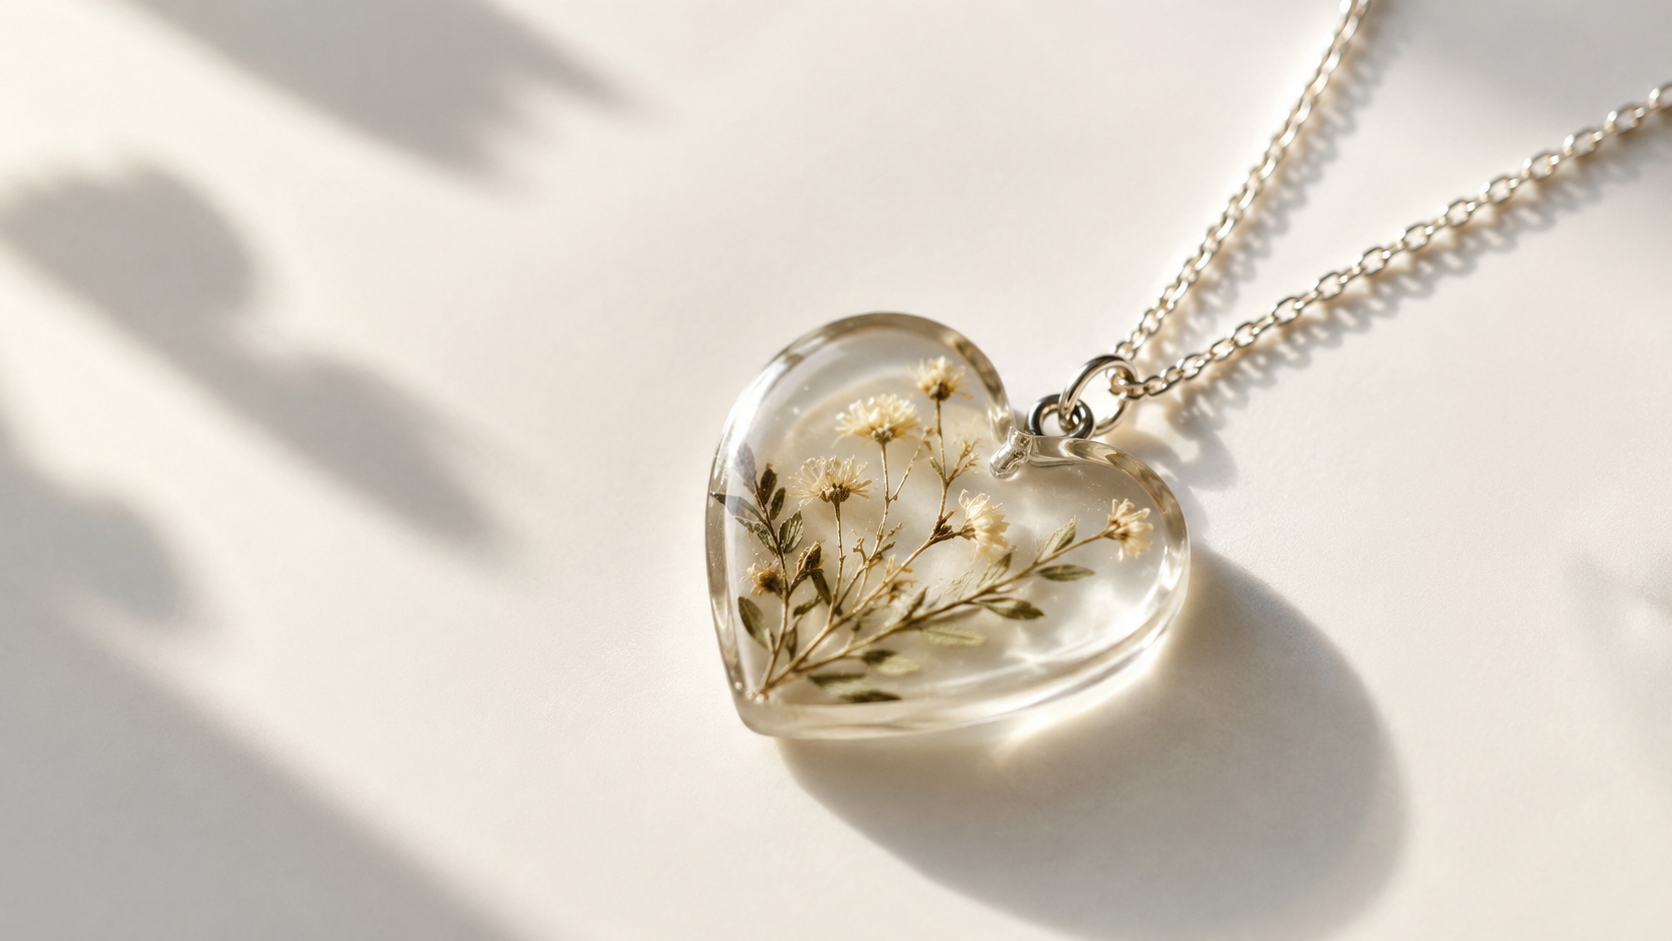
Want to make beautiful resin jewellery at home in India? Resin earrings, pendants, and keychains are some of the most popular DIY projects right now — and they are surprisingly easy to make once you know the steps. This complete guide walks you through everything, from choosing your resin to finishing your first piece.
What You Need to Make Resin Jewellery
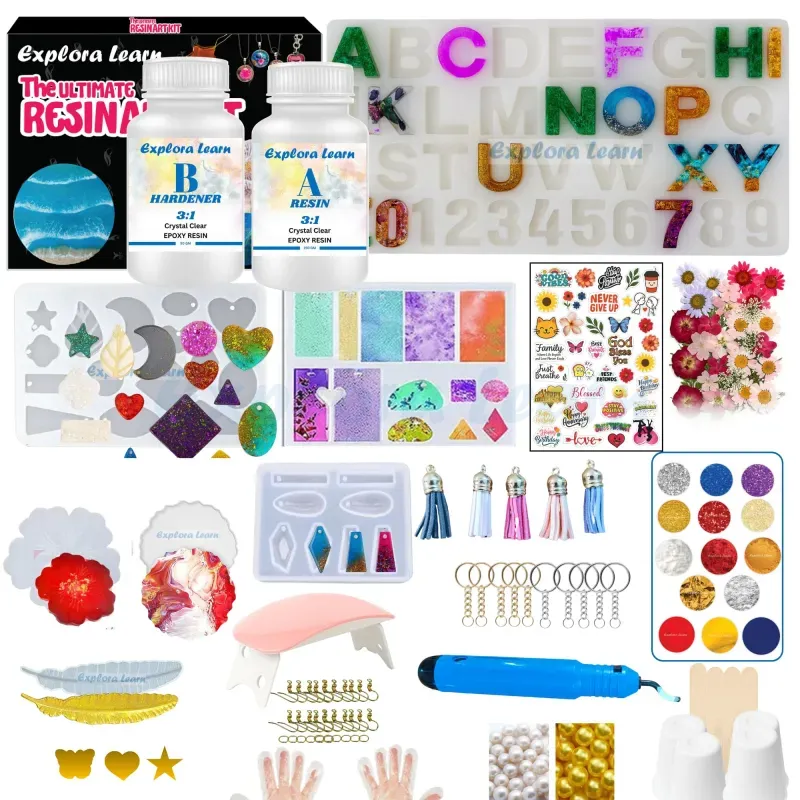
You need very few materials to get started. Everything listed below is included in our resin jewellery kits — no separate shopping required.
- Resin (UV resin or epoxy resin)
- Jewellery moulds or bezels (earring, pendant, ring shapes)
- Pigment colours or glitters
- Mixing cups and stir sticks
- Disposable gloves
- UV lamp (for UV resin) or a flat surface (for epoxy resin)
- Ear hooks, jump rings, keychain loops for finishing
Our UV Resin Jewellery Mega Kit includes all of the above in one box. For epoxy-based jewellery, the Resin Jewellery Kit is ideal.
UV Resin vs Epoxy Resin for Jewellery – Which Should You Use?
Both work well for jewellery. Here is the key difference:
| Feature | UV Resin | Epoxy Resin |
|---|---|---|
| Mixing needed | No | Yes (resin + hardener) |
| Curing time | 5–10 minutes | 24–48 hours |
| Ease for beginners | Very easy | Moderate |
| Best for | Small, thin pieces | Any size piece |
For most beginners making jewellery at home, UV resin is the easier and faster choice. Read the full UV Resin vs Epoxy Resin comparison if you want more detail.
Step-by-Step: How to Make Resin Earrings (UV Resin Method)
Prepare your workspace
Cover your table with plastic or newspaper. Wear gloves. Make sure you are near a window or have a fan running. A clean, dry surface is important for clear resin results.
Choose your mould or bezel
Select the earring or pendant shape you want. Silicone moulds release resin easily after curing. Metal bezels give a polished jewellery look and are ideal for UV resin.
Add colour or inclusions
Mix a small amount of pigment colour or glitter into your UV resin using a toothpick or stir stick. You can also place dried flowers, foil flakes, or mica powder directly into the mould. See our guide on what to put inside resin for ideas.
Pour the resin
Pour UV resin into the mould in a thin layer. Do not overfill — fill to just below the rim. Use a toothpick to pop any bubbles immediately before placing under the UV lamp.
Cure under UV lamp
Place the mould under your UV lamp for 5–10 minutes. Flip the piece and cure from the back for another 2–3 minutes for a complete cure. If the surface still feels slightly tacky, cure for another 2–3 minutes. See our UV Resin Problems guide if you get a sticky result.
Demould and finish
Gently flex the silicone mould to release the cured piece. Sand any rough edges lightly with fine sandpaper. Attach ear hooks or jump rings using pliers to complete your earrings.
Step-by-Step: How to Make Resin Earrings (Epoxy Resin Method)
Mix resin and hardener
Measure your epoxy resin and hardener in the correct ratio (usually 3:1 or 2:1 — always check your kit instructions). Mix slowly for 3–5 minutes, scraping the sides and bottom of the cup. Never rush mixing — improper mixing causes sticky resin. Read our Resin Process Guide for the full mixing technique.
Add colour
Add a small drop of pigment colour or pinch of glitter to the mixed resin. Stir gently to combine without introducing new bubbles.
Pour into moulds
Pour the resin mixture into your jewellery moulds. You have around 30–45 minutes working time before epoxy starts to thicken. Place any inclusions (flowers, foil) and remove bubbles with a toothpick.
Wait for curing
Leave the pieces undisturbed on a flat surface for 24–48 hours. Work in a warm room (24–30°C) for best results. Cover loosely with a box to keep out dust.
Demould and finish
Once fully cured, pop pieces out of the silicone moulds. Sand any rough edges and attach ear hooks to complete your earrings.
Popular Resin Jewellery Ideas for Beginners
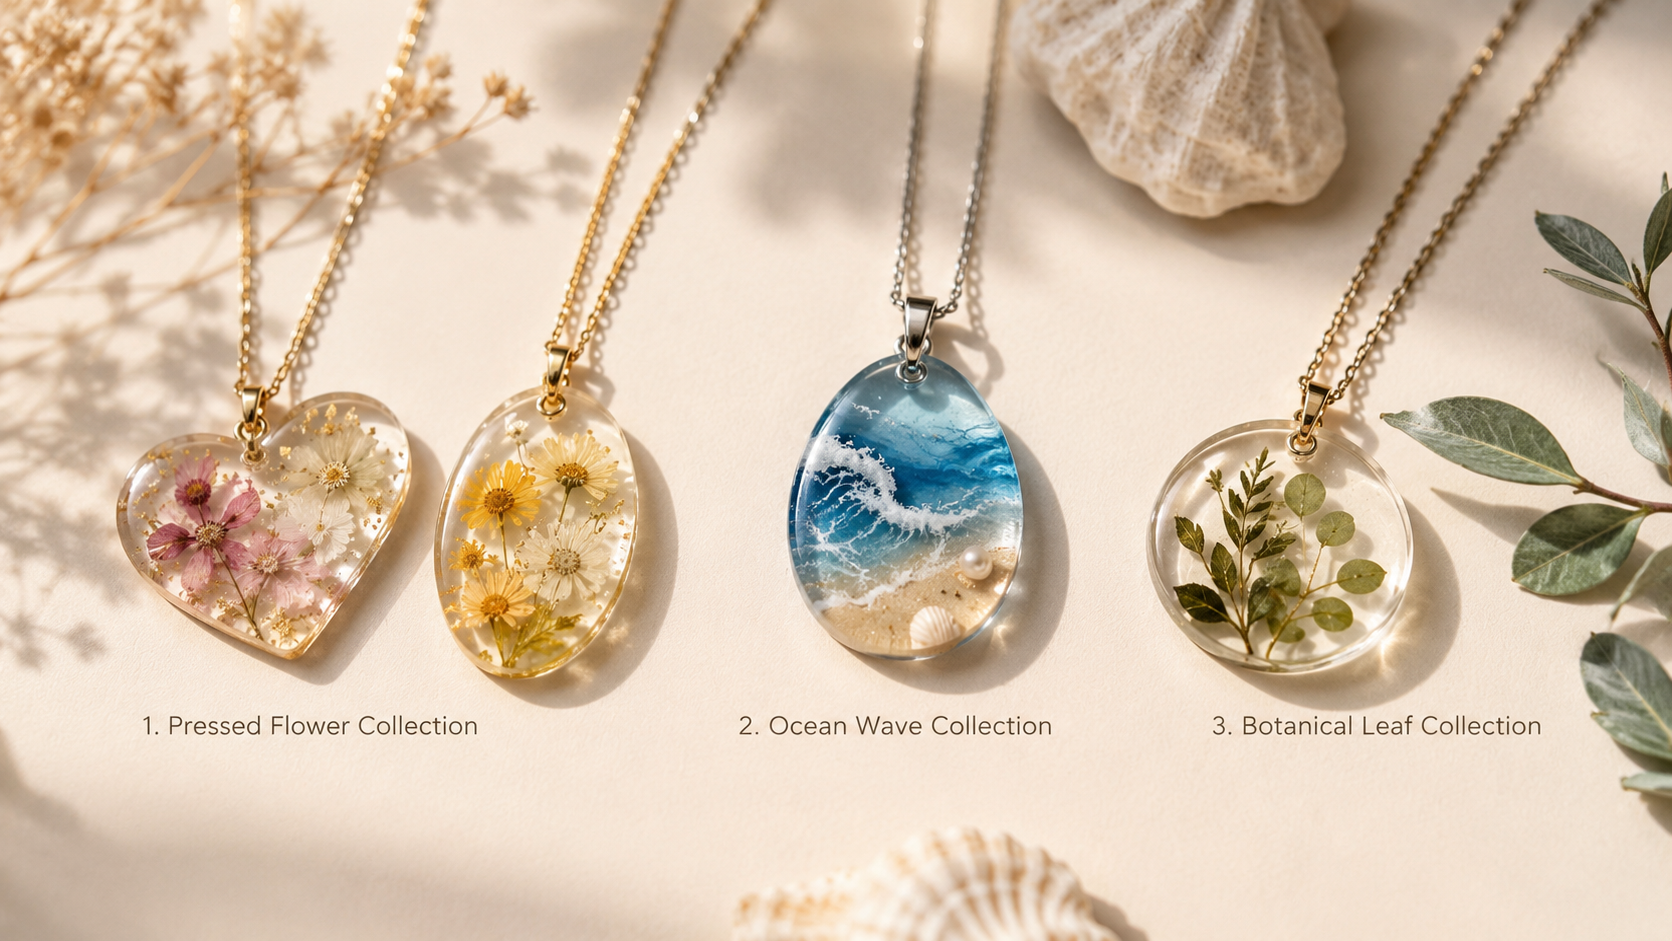
- Flower earrings — dried rose petals or lavender in a clear resin drop
- Galaxy pendants — dark blue and purple pigments with silver flakes
- Glitter earrings — fine holographic glitter in a round or teardrop shape
- Name keychains — alphabet moulds with coloured resin
- Marble effect earrings — swirl two colours together before curing
- Photo pendants — seal a small printed photo inside a bezel with UV resin
Dried flowers, foil flakes, glitter, mica powder, small charms, and printed photos all work beautifully inside resin jewellery. See our full What to Put Inside Resin guide →
Common Mistakes to Avoid
Overfilling moulds (resin overflows and ruins the shape), adding too much pigment (makes resin cloudy), not removing bubbles before curing, and touching pieces before they are fully cured are the most common beginner mistakes. Take your time — resin jewellery rewards patience.
How to Fix Common Problems
- Sticky resin: Not fully cured — see our Why Is My Resin Sticky guide
- Bubbles in resin: See our How to Remove Bubbles guide
- Cloudy result: Too much pigment or moisture — use less next time and work in a dry space
- UV resin not hardening: Weak UV lamp or layer too thick — see our UV Resin Problems guide
Can I Sell Resin Jewellery from Home in India?
Yes — resin jewellery is one of the most profitable home-based businesses in India right now. Earrings and pendants cost ₹20–₹50 to make and sell for ₹150–₹500 on Instagram and WhatsApp. Read our Resin Art Business Ideas guide for a full plan on how to start and grow.
- UV resin is the easiest and fastest method for beginners making jewellery at home
- All materials needed are included in Exploralearn jewellery kits — no separate purchases
- Take time mixing epoxy resin thoroughly — improper mixing causes sticky resin
- Dried flowers, glitter, and mica powder make beautiful jewellery inclusions
- Resin jewellery can be turned into a profitable home business in India
Our UV Resin Jewellery Mega Kit includes everything you need to make your first earrings and pendants at home — UV resin, bezels, glitters, mica powders, and a UV lamp. Or browse our full range of resin art kits in India →
Frequently Asked Questions
Can I make resin jewellery at home without experience?
Yes, absolutely. UV resin jewellery requires no mixing and cures in minutes — it is one of the most beginner-friendly crafts available. Start with our UV Resin Jewellery Mega Kit and follow the steps in this guide.
How long does it take to make resin jewellery?
With UV resin, a pair of earrings takes 20–30 minutes from start to finish (including curing). With epoxy resin, you pour in 15–20 minutes but wait 24–48 hours for curing. Most beginners prefer UV resin for its speed.
What is the best resin for jewellery making in India?
UV resin is the most popular choice for jewellery making in India because it is easy to use and cures quickly. Our What is UV Resin guide explains everything you need to know before buying.
Is resin jewellery safe to wear?
Yes. Fully cured resin is non-toxic and safe to wear. The safety precautions (gloves, ventilation) apply only while handling liquid, uncured resin. Read our Resin Safety Guide for full details.
How do I start selling resin jewellery from home?
Start by making 10–15 sample pieces, photograph them well, and post on Instagram. Use WhatsApp groups and local exhibitions to get your first customers. Read our Resin Art Business Ideas guide for the complete plan.