
How to Make Resin Coasters at Home in India – Step-by-Step Beginner Guide
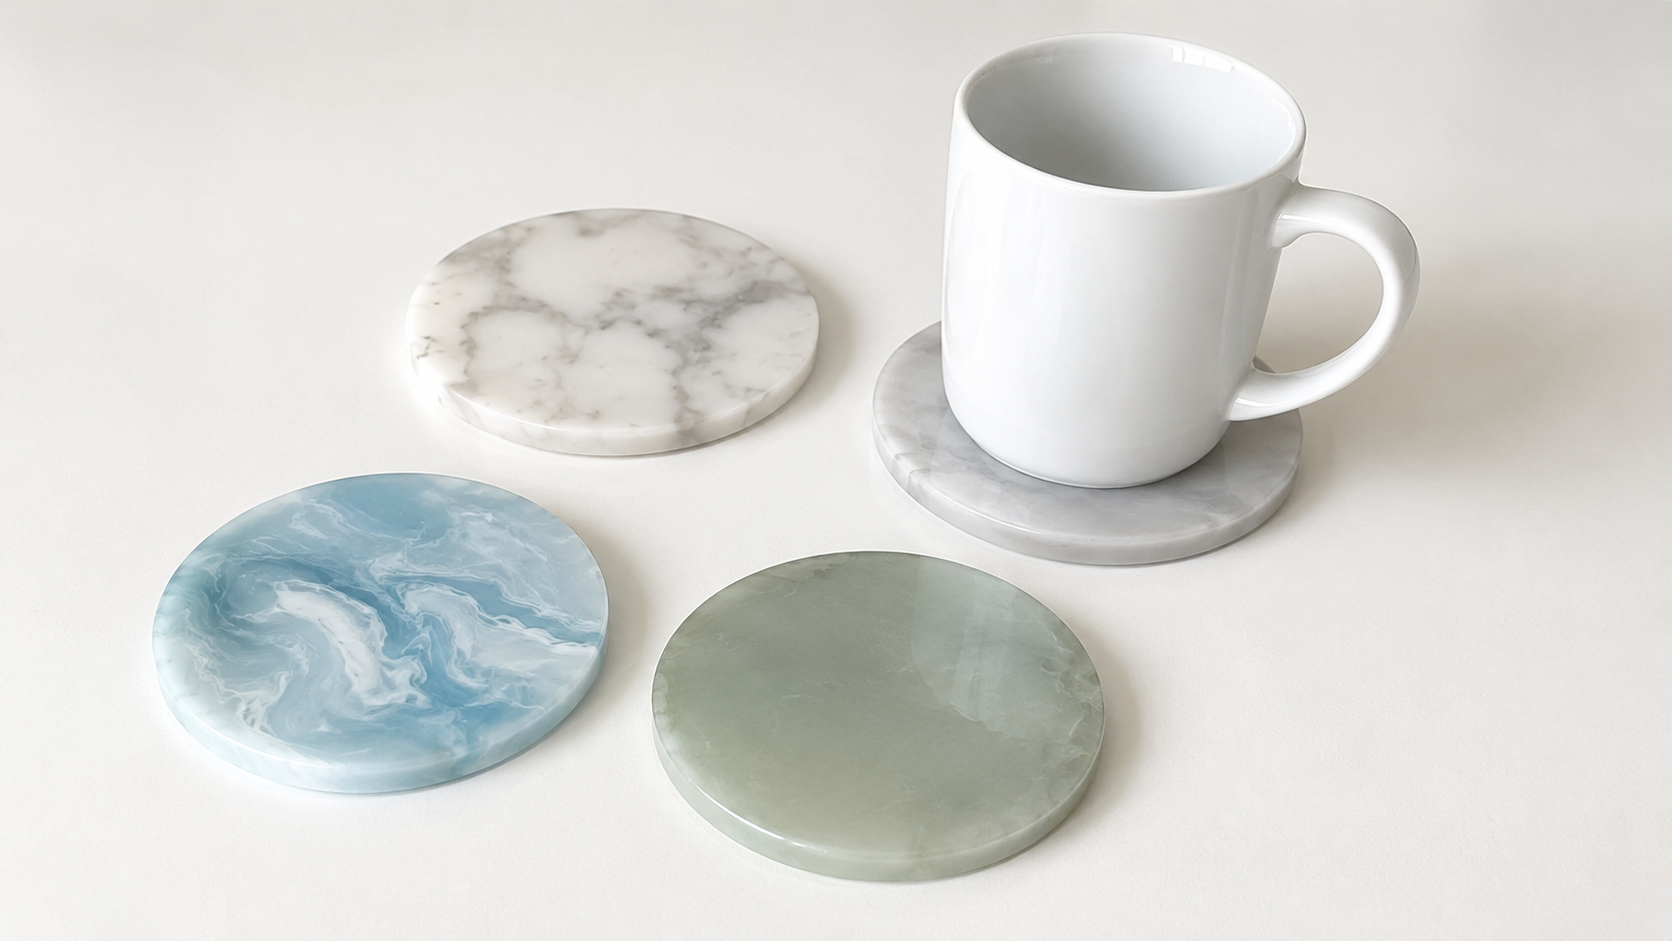
Resin coasters are one of the most popular and beginner-friendly resin art projects in India. They are beautiful, practical, and make perfect gifts. This complete step-by-step guide will take you from zero experience to your first set of stunning resin coasters at home.
What You Need to Make Resin Coasters
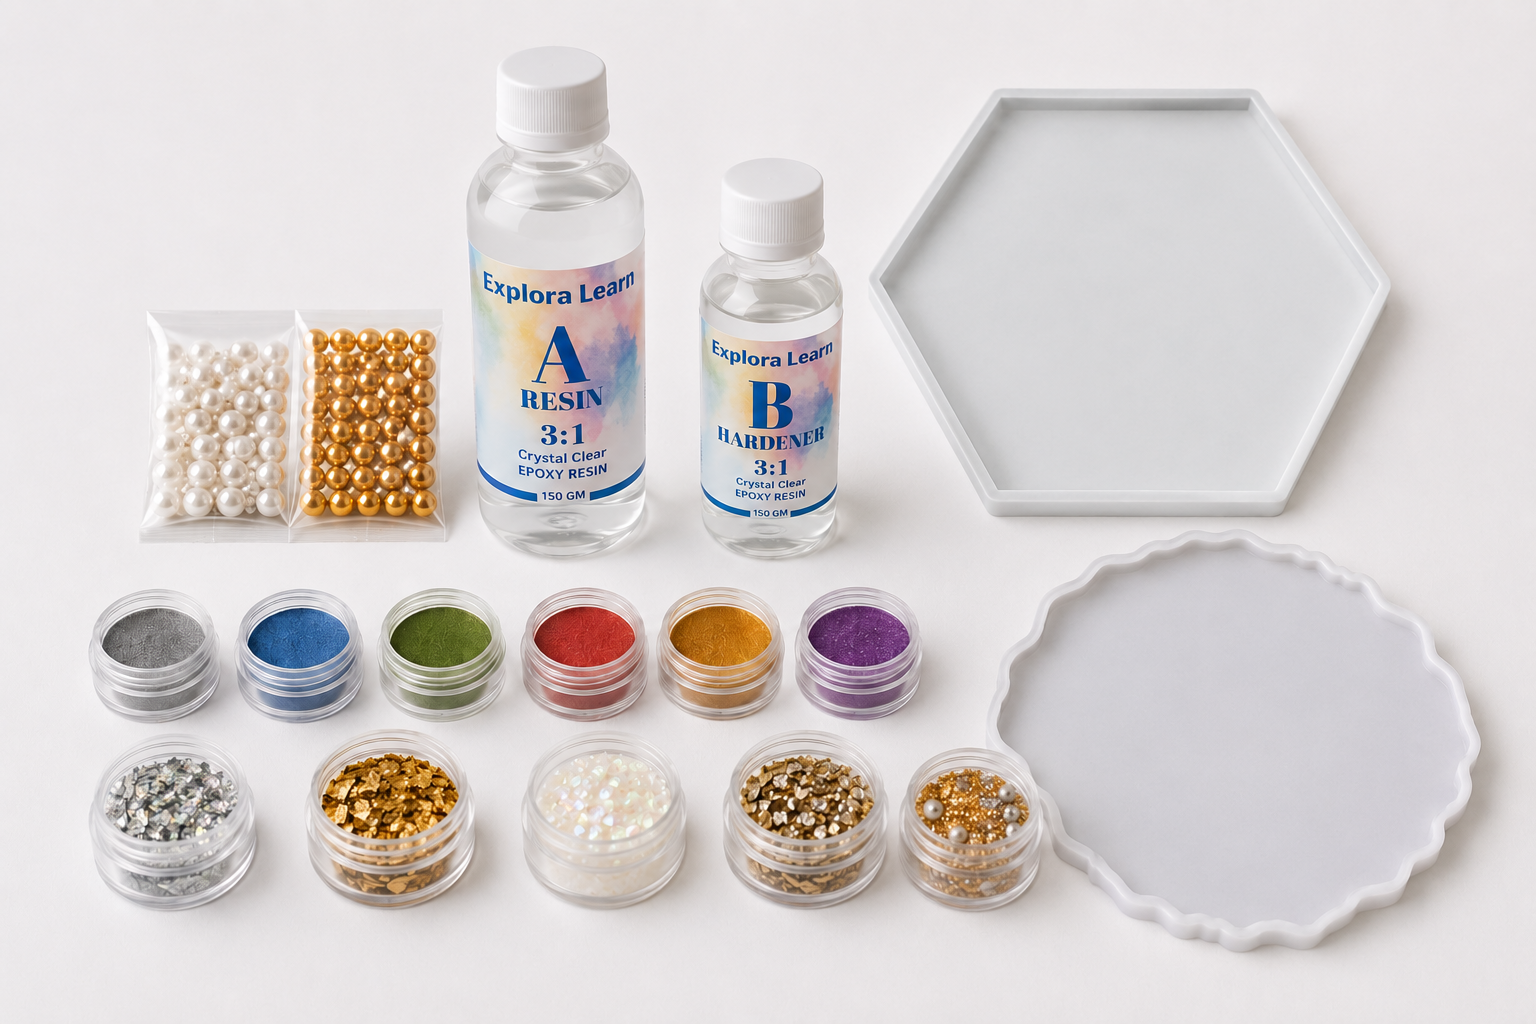
- Epoxy resin and hardener (200–300g is enough for 4–6 coasters)
- Round or square silicone coaster moulds
- Pigment colours or alcohol inks
- Glitter or metallic powder (optional)
- Mixing cups and stir sticks
- Disposable gloves
- A heat gun or torch (to remove bubbles)
- Plastic sheet or newspaper to protect your table
Our Ultimate Resin Coaster Kit includes all of the above — epoxy resin, round and square moulds, pigments, mixing tools and gloves. No separate shopping needed.
Step-by-Step: How to Make Resin Coasters
Prepare your workspace
Cover your table with a plastic sheet or newspaper. Place your silicone moulds on a flat, level surface — this is important so the resin does not cure at an angle. Wear gloves before handling resin. Work near an open window for ventilation. Read our Resin Safety Guide if this is your first time.
Measure and mix the resin
Measure your epoxy resin and hardener in the correct ratio (check your kit — usually 3:1 or 2:1 by volume). Pour into a mixing cup and stir slowly for 3–5 minutes, scraping the sides and bottom of the cup throughout. Slow, thorough mixing is the most important step — rushing causes sticky resin. See the full technique in our Resin Process Guide.
Add colour
Divide your mixed resin into separate cups — one per colour. Add a small drop of pigment to each cup and stir gently. For a marble effect, keep the colours slightly unmixed. For solid colours, stir fully. You can also add glitter or metallic powder at this stage for extra effect. See our guide on what to put inside resin for more ideas.
Pour into moulds
Pour your coloured resin into the silicone moulds. You can pour one colour at a time, layer colours, or pour multiple colours side by side and swirl with a toothpick to create marble or flow designs. Do not overfill — leave a 1–2mm gap from the rim so the coaster releases cleanly.
Remove bubbles
After pouring, bubbles will appear on the surface. Pass a heat gun or torch gently over the surface in a sweeping motion — the heat causes bubbles to rise and pop. Do not hold the flame in one spot. Alternatively use a toothpick to pop them manually. See our full How to Remove Bubbles guide for all the techniques.
Cover and cure
Cover the moulds loosely with a cardboard box to keep out dust. Leave undisturbed on a flat surface for 24–48 hours in a warm room (24–30°C). Do not touch or move the moulds during curing — any disturbance creates uneven surfaces.
Demould and finish
After 24–48 hours, gently flex the silicone mould and pop the coaster out. The surface should be hard, glossy, and smooth. If the coaster feels slightly tacky, leave it for another 12–24 hours before demoulding. See our Sticky Resin guide if you have issues.
Optional: Add felt pads
Stick small felt pads to the bottom of each coaster to protect surfaces from scratching. Your coasters are now ready to use or gift.
Popular Resin Coaster Design Ideas
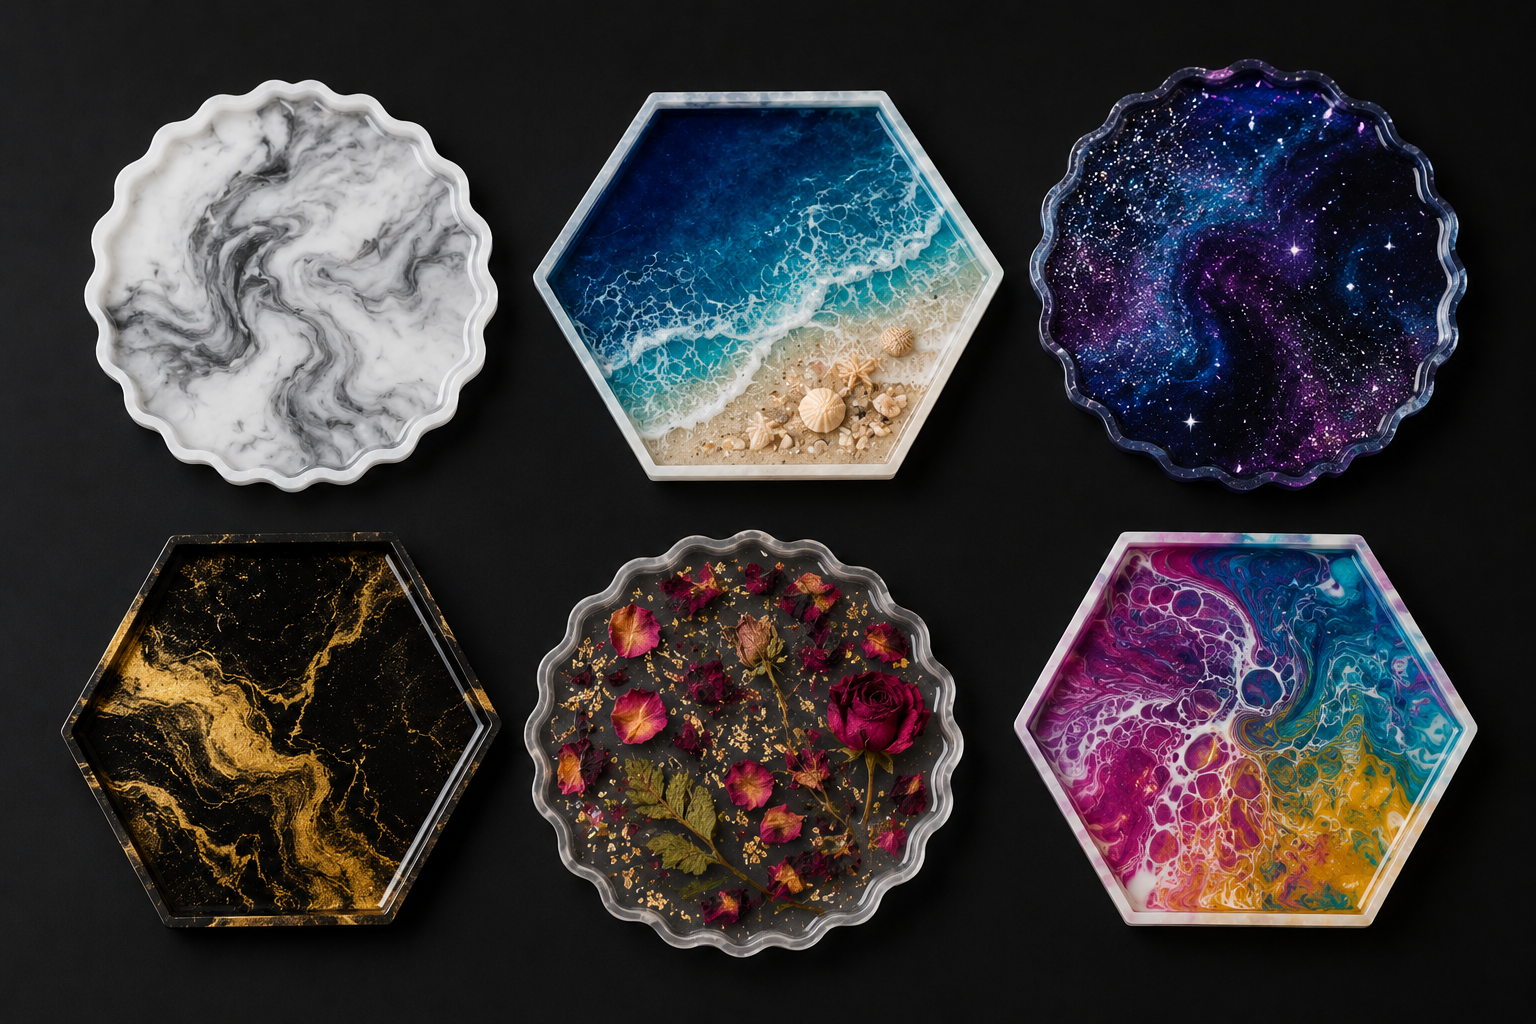
- Marble effect — white and grey pigments swirled together for a classic look
- Ocean wave — blues and teals with white for a beach aesthetic
- Galaxy — dark blue, purple, and black with silver glitter
- Gold vein — black base with gold metallic powder streaks
- Floral — embed dried rose petals or leaves in a clear resin base
- Abstract pour — pour multiple colours and tilt the mould for a free-form design
Marble and gold vein coasters are the top-selling designs in India. A set of 4 matching coasters makes an excellent housewarming or wedding gift.
Common Mistakes to Avoid
Not levelling the mould before pouring (coasters cure at an angle), mixing too fast (creates sticky resin), skipping bubble removal (bubbles trapped in the surface), and touching during curing (fingerprints and dents) are the most common beginner mistakes with coasters.
How Much Resin Do I Need for Coasters?
A standard round coaster (9–10cm diameter, 0.5cm deep) uses approximately 30–40ml of mixed resin. A set of 4 coasters needs around 150–180ml. Our 200g Coaster Kit provides enough resin for 2–3 sets of 4 coasters.
Can I Sell Resin Coasters from Home in India?
Yes — resin coasters are one of the best-selling handmade products in India. A set of 4 costs ₹150–₹300 to make and sells for ₹600–₹1,500 on Instagram, local exhibitions, and gifting platforms. Read our Resin Art Business Ideas guide for the full plan.
- Always level your mould before pouring — even a slight tilt causes uneven coasters
- Mix resin slowly for 3–5 minutes — rushing is the biggest cause of sticky results
- Remove bubbles with a torch or heat gun immediately after pouring
- Cure for 24–48 hours undisturbed in a warm room (24–30°C)
- 200g of epoxy resin makes 2–3 full sets of 4 coasters
Our Ultimate Resin Coaster Kit has everything you need for your first set. For more variety, the 185 Pcs Ultimate Kit adds more moulds and colours. Browse all resin art kits in India →
Frequently Asked Questions
How long does it take to make resin coasters?
Active preparation and pouring takes 20–30 minutes. Curing takes 24–48 hours. Total time from start to finished coaster is 1–2 days, but hands-on work is under 30 minutes.
Can I make resin coasters without a torch?
Yes — use a toothpick to pop bubbles manually, or gently blow through a straw over the surface. A torch gives faster and cleaner results but is not essential for your first projects.
How do I make marble resin coasters?
Pour 2–3 colours side by side into the mould, then drag a toothpick through them in swirling motions. Keep movements light — too much mixing blends the colours into one flat tone. The less you swirl, the more defined the marble effect.
Are resin coasters heat resistant?
Epoxy resin coasters can handle warm mugs and glasses but are not suitable for very hot items. Avoid placing very hot pots or cups directly from the stove onto resin coasters.
Why did my resin coaster come out sticky?
Sticky resin is almost always caused by incorrect mixing ratio or insufficient mixing time. Always follow your kit ratio exactly and mix for the full 3–5 minutes. See our full Why Is My Resin Sticky guide →